
Hello there Friend,
It’s another quilty week over here on the blog. You all have read about the Sweet and Minty baby quilt I made for my little niece. Speaking of that little cutie, she was born healthy, happy and adorable back in April. We are all very much in love with her. I have yet to get any good photos of her wrapped up in the quilt, but when I do I will she here for you to see, with Mom’s permission of course.

Today, I want to talk about the methods I used while preparing and quilting the double gauze cotton fabric used on the back of the Sweet & Minty quilt. In the last blog post I mentioned that this was my first time using the material to back one of my handmade quilts, but it was not my first time ever sewing with this type of cotton. In the past, I used double gauze for making baby bibs and burp cloths. I also used the material to dress and swaddle my own babies. So, I had a pretty good understanding of the material; like the way it felt, stretched and pulled with movement.

Double gauze cotton is an interesting material. It has a large, loose weave and crinkle that allows it to stretch and bounce back to its original state. Yet it has a limit to the movement because there are no synthetic fibers. I love that it is 100% cotton! The texture is super soft, airy and cooling because of the loose weave but it can still keep you warm. This is the reason I chose double gauze as the backing for the baby quilt. It is a material that feels comfortable in the hot Arizona weather.
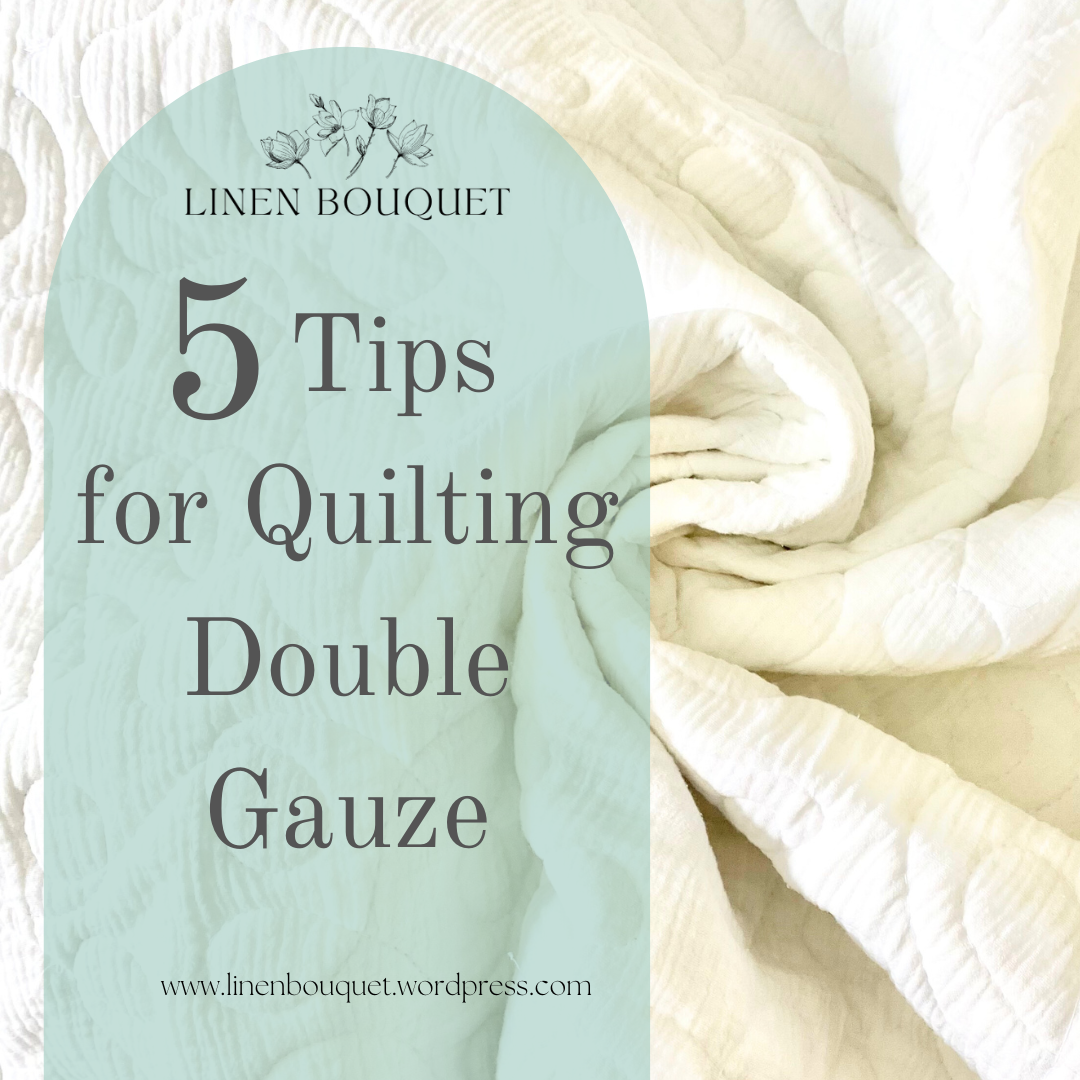
Keeping all these attributes of the material in mind I made strategic plans for prepping and quilting it to my project. Here are the 5 successful decisions I made that I hope will also aid you when quilting with double gauze cotton.

- Press It Out
The wrinkles that is. Double gauze has a natural crinkle and stretch. It is one of my favorite things about the material, but the stretching needs to be kept at a minimum in order to quilt. With a light hand gently iron out some of the stretch. I was careful to not iron it completely flat as to allow for the material’s natural movement. That is after all its best feature. - Too Starchy
I recommend steering clear of starch when pressing. If I had used starch it would have completely flattened and/or stiffened the material to the point of stretching. Since that is not the natural state of double gauze, I was afraid that it would cause a sort of curling or warping of the quilt once it had been washed a few times. To avoid this, I used a light mist of clean water which worked great. - Best Baste
This is an important one. While I usually reach for an adhesive basting spray to sandwich my quilts, I chose not to use it this time. It was important to me that the double gauze kept its light and airy character. I wanted the back of the quilt to feel fluffy to the touch. If the gauze was basted with an adhesive spray, it would limit the materials movement during the machine quilting. This would cause the material to tighten up more than I wanted. So instead, I chose to pin baste the layers together with curved safety pins. Placing the pins about 5″ apart. This was the right choice. - The Right Foot
Not your physical foot, I’m talking about the quilting foot attachment for the sewing machine. This may not make sense if your machine does not come with the option to quilt, but if it does read on. Which attachment is the correct one? I say the Free Motion Quilting attachment is the best for double gauze. Why? It has less to do with the attachment than it does with the feed-dogs underneath the layers of material. Let me explain. The loose weave of double gauze easily snags onto the lower feed-dogs of the machine. I wish it wasn’t so, but with every project I’ve sewn using this material there has been bunching and snagging on the layer underneath. In an effort to avoid this mishap, I removed the feed-dogs from the equation altogether and reached for the FMQ attachment. So very glad I did, because the quilt glided through so evenly. There was not one single snag or bit of bunching on the double gauze. I think this method also allowed for the material to move enough so, that it created that fluffy, cushiony backing that I had hoped for. - Prep The Border
After all the quilting was done, I trimmed the quilt to size and removed the excess material. As I prepared to add the binding to the top side of the quilt, I noticed an issue. My beloved fluffy double gauze was so puffy that I could tell it was going to snag once I lifted the feed-dogs on the machine. That was not going to happen on my watch. To avoid any snag, I sewed a seam along the entire border a scant 1/4″ away from the edge, with the top of the quilt facing down. It kept all the layers neatly in place while I added the binding to the quilt.

The combination of these steps worked very well for me. The Sweet & Minty quilt finished with a neatly quilted top and fluffy cloud-like backing. Just as I had envisioned. While I do not believe there is only one way to assemble a quilt, I do think it is helpful to learn what works well for other quilters and to try them out.

That being said, I hope you will give these tips a try the next time you plan to add double gauze to your quilt. Whether they work for you or not, I would love to hear about your experience.

See you next week with a fun Fabric Tour post with these new Christmas fabrics.

Have a great week!
love, Jasmine


Leave a Reply